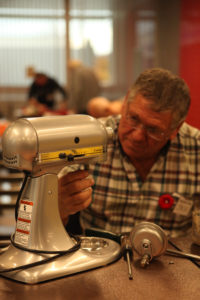
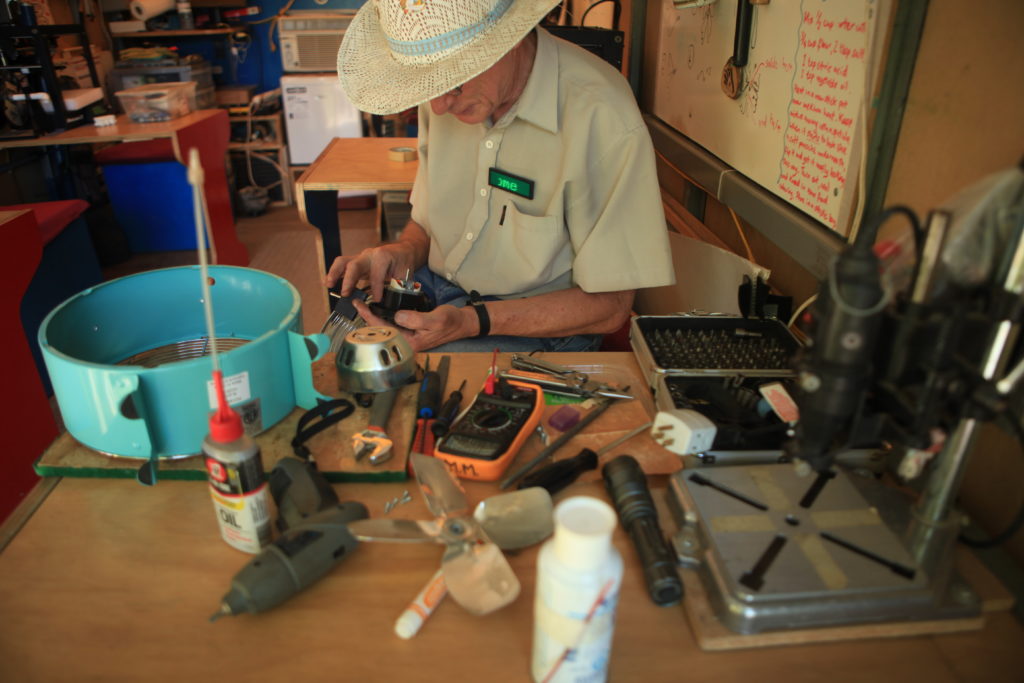
We all try to Reduce, Reuse and Recycle as much as we can, but it seems like we’re still forgetting something. Refuse, Rethink and Repair are now commonly added to that list. People often lament to us at collection events about the good old days of the neighborhood repair shop that could fix anything. The days of cheap products and irreplaceable parts have made repair shops an endangered species. However, oftentimes, a little repair could go a long way. This is why we’re excited to share with you Repair as a few repair tips to save you money and unnecessary waste.

So, where do we start?
We’d like to extend a huge thanks to our friend from BC’s STEAMtruck, Farrell Segall, for assisting with the technical tips listed below:
- Google it. Search the product’s name and brand on Google. The problem you have is probably common for that particular item. There might be a video explaining how to fix it. There are hundreds of great YouTube videos and websites like familyhandyman.com, www.doityourself.com or Wikihow to guide you.
- Unplug and open it up. Opening-up or disassembling the item will allow you to get a better view of what’s going on. Take off the outer shells, the metal caging or the bottom fan vent and take a look. Be careful when poking around inside an electrical product.
- Take pictures every step of the way: the location of mounting screws before removing covers, loosening components, motors, controller boards, etc. This will serve as a reminder to locate where they go as well as where wiring is routed, and the correct alignment of items.
Let’s start with easy fixes
- Clean it. Often time, ordinary dirt and grime can build up over time and restrict the motor movement. For example, toasters need to be thoroughly emptied of crumbs, coffee machines need to be rinsed and cleaned correctly. Special tip: rubbing alcohol is a great way to make your items work like new, especially on things that can get clogged up like the ink heads on a printer.
- Lubricate it. It’s almost cliché, but WD40 is the “turn it off and on again” button of the small appliance world. Make sure that the parts that need to turn, twist, lift or lock can do so smoothly and without resistance. While WD40 is great for sticky actuators, (any component that moves a part of the machine), Contact Cleaner aerosol spray is often a useful aid in repairing intermittent switches. If the contact cleaner does not work, it’s possible to open switches and use 1200grit water paper between contacts to clean arcing caused corrosion.
Time to test!
- Test it. Test the electrical components with a multimeter (also known as a VOM or Multitester). You can get one for about $20.00. This will help pinpoint if and where the electricity gets cut off. Before opening up appliances and power tools, check for some continuity between the power terminals at the plug end of the power cable with the unit switched on. A continuity test tells us whether two things are electrically connected: if something is continuous, an electric current can flow freely from one end to the other. Often, there is a break in the continuity at the back of the power plug or where the cable exits the appliance. Try to shorten the cable and replace the plug if this is a problem, or replace the cable if the cable is old or in poor condition. Once the unit is open, check for continuity of the power cable from the plug end through to the switch, or fuse in the unit to prove the fault is not with the cable.
- Test the Fuses. Many motor driven units have a thermal fuse tied to the internal windings. These fuses blow when overheated but can be replaced. DO NOT try to solder them. Instead, twist or crimp bare wires together and cover with shrink sleeving to insulate. Fuses are designed to break and be easily replaced. They are often standardized and can be bought at any hardware store. There may also be a breaker in the device which you can quickly reset.
- Try to solder. Or, shall we say learn to solder? A loose connection or broken wire might be the only thing wrong with the product. Learn how to use an inexpensive voltmeter to test where the electrical current isn’t getting through and if you feel confident with your soldering iron, it could be that simple a fix. Pencil irons are the best to use on electronic circuits. DO NOT use soldering gun-type irons on electronic circuits.
Find the right parts
- Rewire it. Although we tend to complain that companies don’t make parts for our products anymore, you can always find a cheap replacement for any wiring issues. Look for bald spots on wire casings or even wires touching the wrong place. Sometimes a wire just needs to be moved back into its correct position to get it working properly. You can inexpensively rewire lamps, fans, and heaters without anything more than a pair of wire cutters, strippers, and a screwdriver. Again, be careful and don’t try this while the product is plugged in. Make sure you check the gauge of the wire first and be sure the replacement can handle the voltage.
- Find the missing part. Believe it or not, often time, missing attachments and accessories are actually the problems such as missing hoses on vacuums or loose blades on blenders. Fortunately, most companies offer replacement parts for their products. Take a look at the owner’s manual to identify the model and part numbers. You can call local retailers or thrift shops to see if they have the part you need. As a last resort, you can write to the manufacturer, who might refer you to an appliance-parts dealer. It’s always good to do a side-by-side comparison with the replacement part to double-check that they match before you purchase it.
Extra tips


- Coil it right. Most people coil the cords of their vacuums by vigorously wrapping it around their arm or in a tight circle around the device. It seems like a frivolous thing, but learning the “Inside Outside Method” could double the lifespan of your product. It will also save you time every time you unwind the cord because it follows the contours of the cord rather than twisting it internally.
- Find the right tool. You might face security screws and special fasteners on modern appliances. Try to find the appropriate toolset at your local hardware store.
- Find an expert. There might be a local thrift store, repair shop or even a repair cafe community near you. Lots of people still know how to repair small appliances and power tools. Communities around the world have been organizing free or by-donation events to repair small appliances, power tools, electronics, or even textiles.
Follow these great organizations for upcoming events!
- STEAMtruck Mobile education center
- Fix-it Collective Vancouver
- Metro Vancouver Repair Cafe
- Repair Cafe’s in Kamloops, Maple Ridge, Nanaimo, Sooke, Colwood, Saanich, View Royal, Victoria, and Whistler


Comments