If you recently revived an old bread machine or invested in a new one, follow the below maintenance tips to prolong the life of your machine!
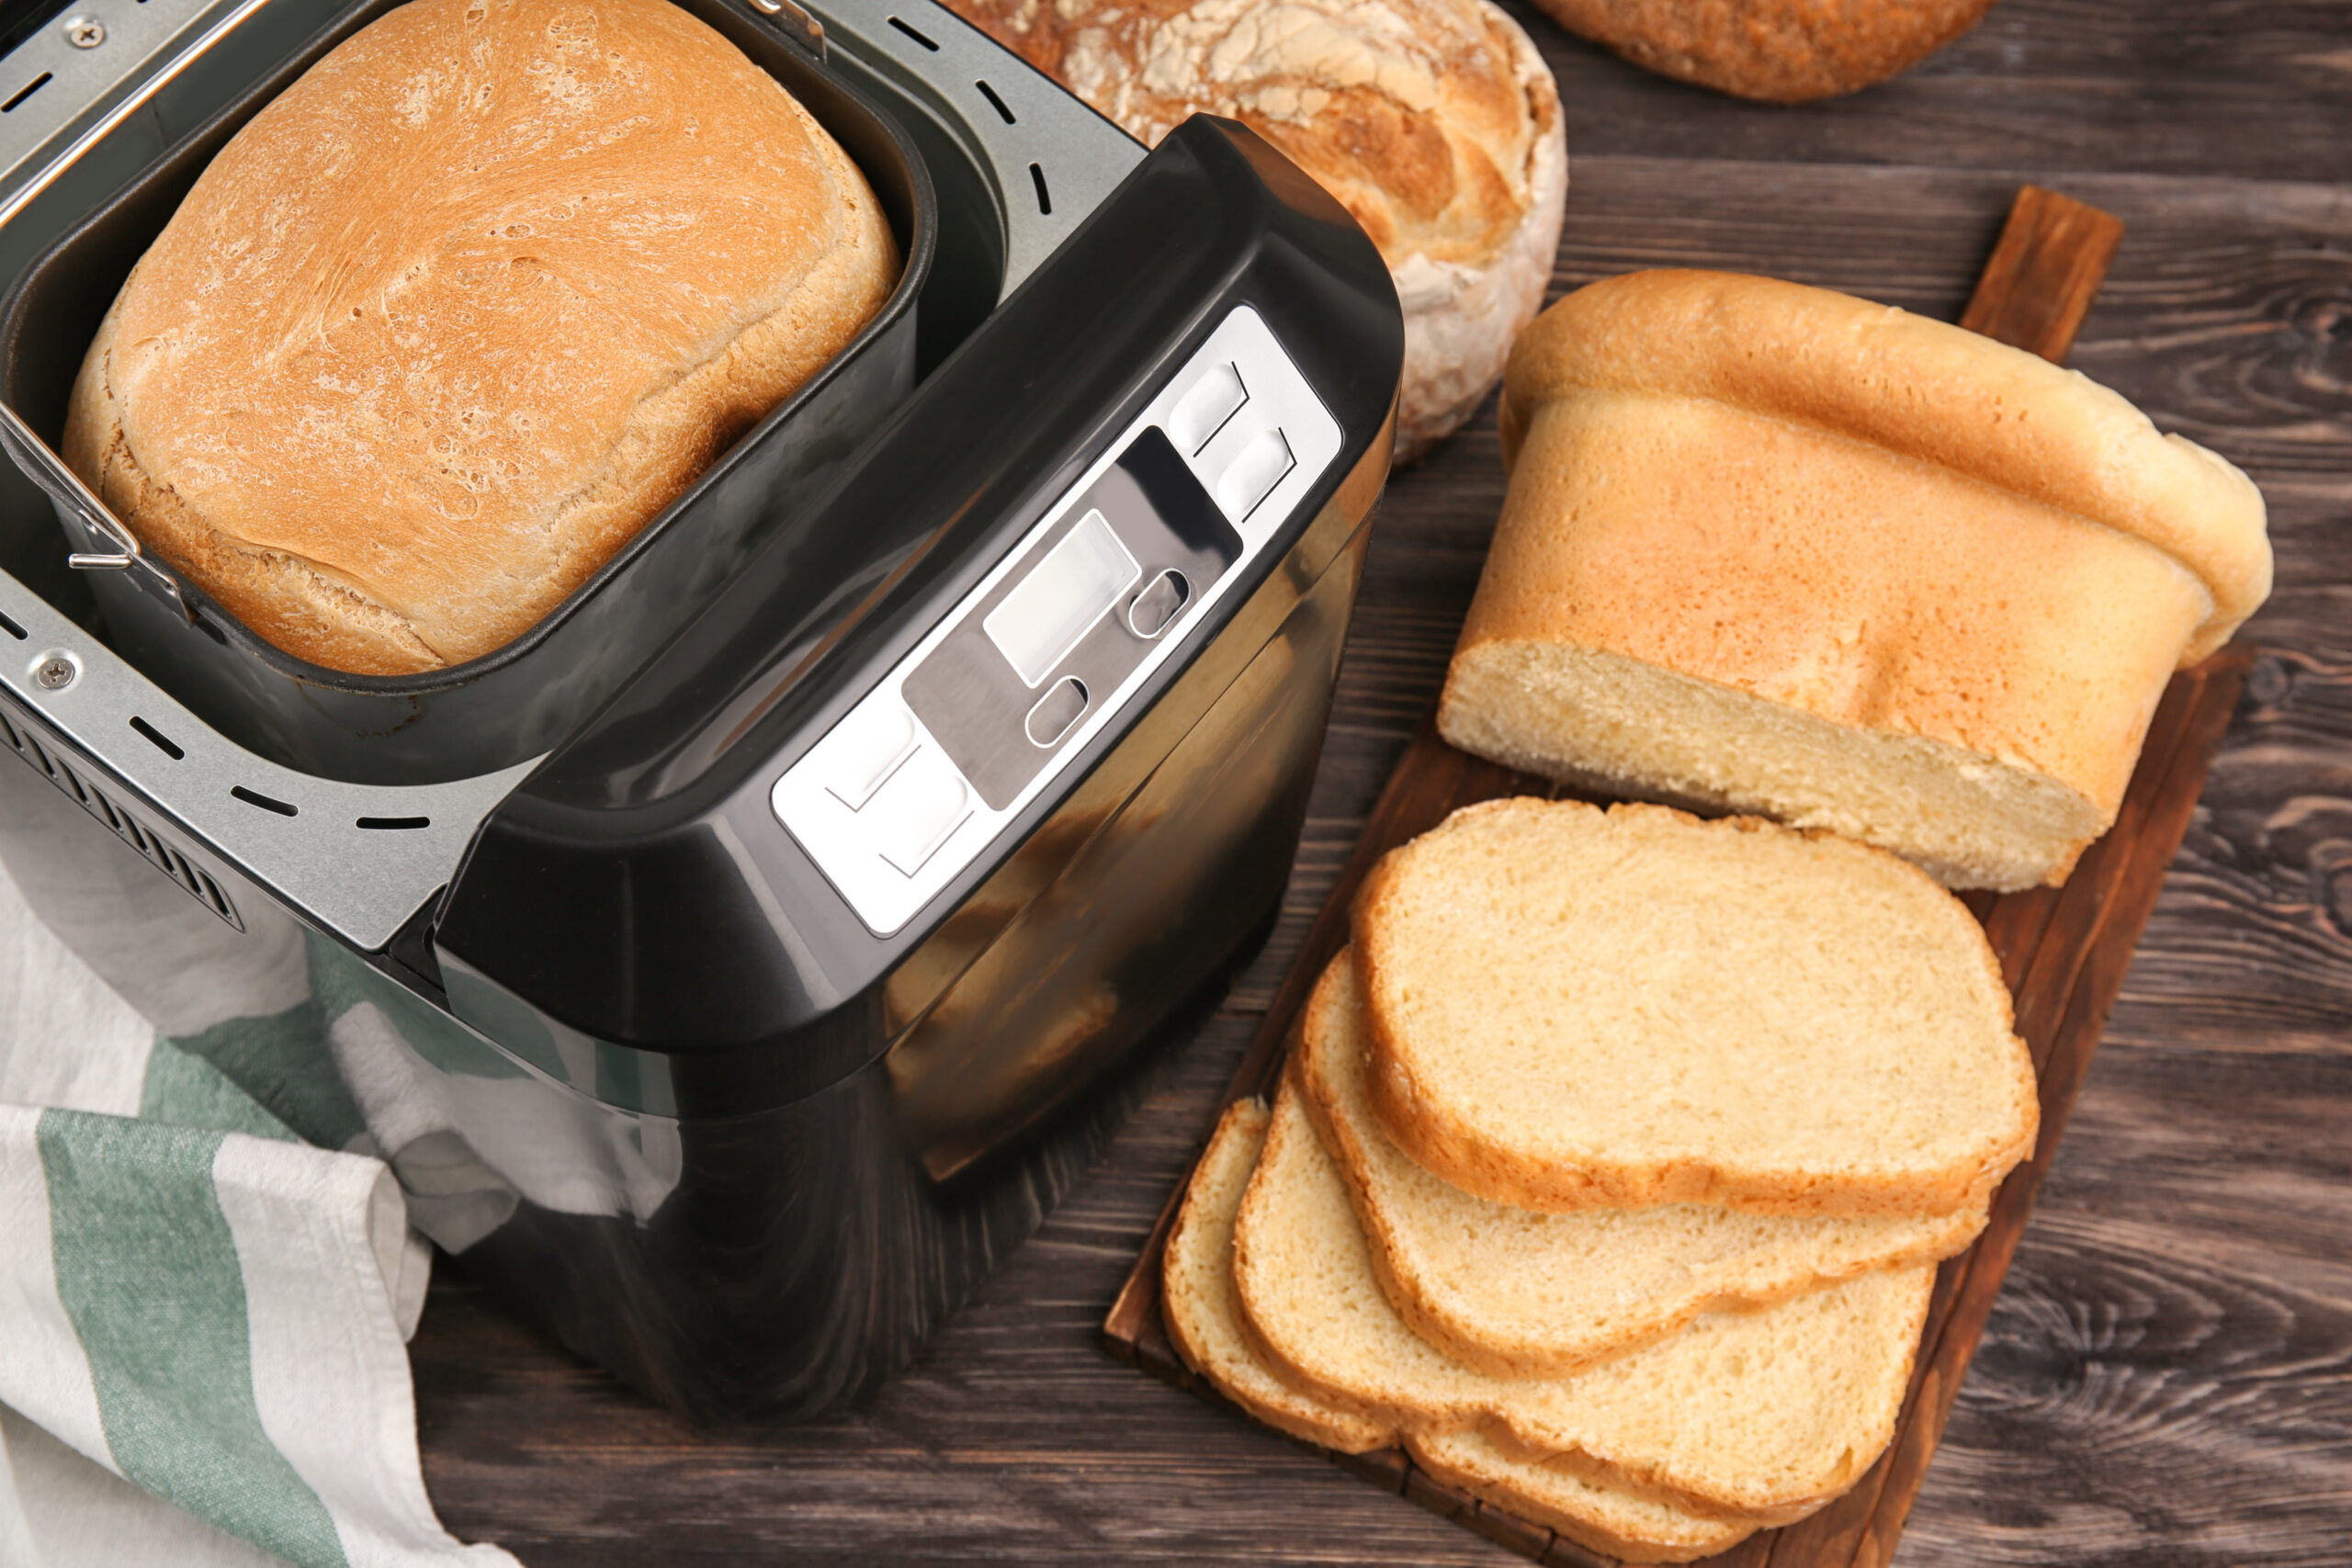
Toilet paper shelves have not been the only shelves sold bare in light of COVID-19. Stay at home restrictions have also lead to empty baking aisles as a bread-making craze seems to have swept the country. For those who are curious to try bread making but are looking for some added convenience – an automatic bread machine is a great option. With a bread maker homemade loaves are easier than you think, you don’t even need any previous baking experience!
Our mouths are watering just thinking about fresh cinnamon raisin loaves, sweet honey granola bread, and savory herb and parmesan bread. These easy tips will ensure your machine creates delicious aromas wafting from the kitchen for years to come.
Firstly, before setting out to do any cleaning or maintenance double-check that your bread machine is unplugged and cooled. Then, make the following steps part of your routine to keep your machine baking at its best.
Become An Expert Oiler
If your machine starts making unusual noises it could be that the bread spindle shaft on the underside of your bread pan needs oiling. Even if noise is not an issue, it is advised to do this oiling at least every six months, or more if you use your machine a lot. Many have found that this maintenance tip has extended the life of their machine.
To oil the bread spindle shaft, Bread Machine Digest recommends ONLY using either 3-in-1 oil, or sewing machine oil. Do not use any other oil types on the spindle shaft and be sure to read all the information on the oil packaging before using. It is important to note that these oil types are poisonous if ingested so do not over apply and only apply where indicated by the following instructions.
Bread Spindle Oiling Instructions (using Bread Machine Digest terms)
- Turn the pan over. There you will see the kneading shaft, wing nut doohickey, and the doohickey-retaining clip.
- Put a drop or two of oil between the shaft and the retaining ring (see image).

Image source: Bread Machine Digest - Turn the wing nut doohickey a few times to work the oil in. Repeat once more. If your machine has two kneading blades you will need to do both shafts.
- Always wash your hands after handling the oil!
Clean Carefully
As the writer PJ O’Rourke once said “everybody wants to save the world: no one wants to help mom do the dishes.” Unfortunately, clean-ups after a tasty bread baking recipe always need to be done one way or another. To increase the lifespan of your appliance, your machine and its bread pan need to be hand-cleaned with care after every use. Most bread pans cannot go in the dishwasher but check your machine’s manual about this and also get further detailed cleaning instructions from it. Many bread machine manuals are available on manufacturer websites.
Here are the key steps to clean a bread machine:
- Use soap, water, and non-abrasive scrubbing tools to clean the bread pan. Do not submerge the pan in water. Avoid using bleach, harsh chemicals, or abrasive scrubbers.
- Keep it simple when cleaning the inside of the machine: turn it on its side, collect crumbs in a pile, and then sweep them out of the machine (using a dry cloth, or dedicated brush). *Do not get the inside wet, you do not want standing water in the bottom of your machine.*
- With a damp cloth, gently wipe off any areas where the loaf rose too high on to the top or sides of the machine (if needed).
- Gently clean the heating elements with a damp cloth or sponge (wring out to avoid excess water).
- Pat the machine parts dry and/ or let the parts air dry before re-assembly to prevent rust.
Parts Care & Repair
A common part needing replacement in bread machines is the bread pan. In many cases, you can prevent the need for this by:
- Keeping the outside bottom part of the pan dry. Getting it wet can cause rust to form, seizing up the pan’s shaft and making it unable to be used.
- Cleaning and baking with care so as not to degrade the pan’s non-stick coating. The coating allows easy removal and even baking of the bread. Once damage appears, it is only going to get worse and rust can form.
If parts of your machine do get damaged you can usually purchase replacement parts from the manufacturer or an authorized service center. For other bread machine issues, you can always check the machine’s instruction manual or contact the manufacturer. The manufacturer can direct you to an authorized service provider to repair your appliance.
Bread Baking Basics
If your machine seems to be working alright but your bread needs some help, Hamilton Beach and Sunbeam have some great tips such as:
- Fresh ingredients are key. Check your yeast and make sure it is still active and not out of date. If you’re having trouble finding yeast, here are some DIY yeast instructions from a yeast geneticist.
- Correct measurements are very important. Making bread is like a science experiment.
- Be mindful of the order you put the ingredients in the machine. Follow the machine’s instruction manual as well as your recipe to ensure you follow the right order of ingredients.
Check out these 14 Proven Tips for Bread Machine Users for more help finessing a perfect loaf!
Find a Recycling Location Near You
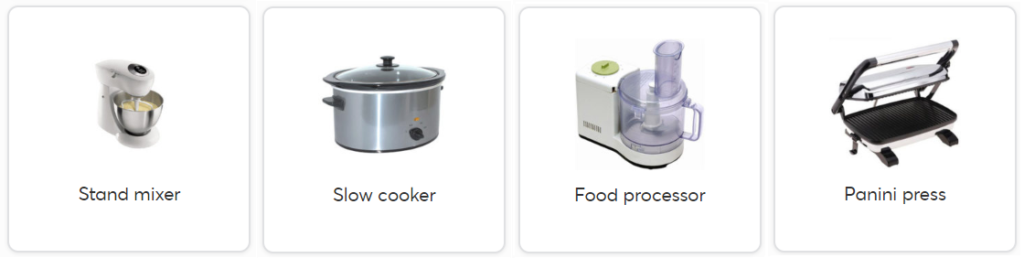
Finally, if your machine is beyond quick fixes and repair, ElectroRecycle accepts bread machines for recycling at all of our 200+ collection sites across British Columbia! We also recycle many other electric counter-top kitchen appliances including:
Use our search tool to check if any other broken appliances you have are recyclable through our program. Would you like more tips on how to maintain or repair small appliances? Check out our blog posts: Sewing Machine TLC Tips and Repair Tips to Save You Money!
Author: Leah Coulter
Blog banner image: Africa Studio – stock.adobe.com


Comments